Author: Eva

  • REVIEW: Moroccanoil Moisture Repair Shampoo

    REVIEW: Moroccanoil Moisture Repair Shampoo

    I loved the Moroccanoil Body Moisture & Shine Shampoo which I used intermittently for a few years, but I couldn’t find it anymore in stores.

    Instead of that, I bought the Moroccanoil Moisture Repair Shampoo, which seems to be more popular.

    What I liked about it:

    • It does prevent split ends
    • Hair is easy to comb after this shampoo
    • Hair feels healthy

    What I didn’t like about it:

    • It doesn’t smell as nice as the Moroccanoil Body Moisture & Shine Shampoo
    • Hair gets greasy fast

    I don’t think I will repurchase this shampoo, I hope I will find again the Moisture and Shine one. If I won’t, maybe I will repurchase the Repair shampoo, although it didn’t impress me.

  • Which direction to loosen wheel nuts / lug nuts?

    Which direction to loosen wheel nuts / lug nuts?

    A set of lug nuts or wheel nuts is used to secure a wheel to the threaded wheel studs and thereby to the automobile’s axles.

    Most automobile users will fastem and loosen the wheel nuts several times every year. The problem is that sometimes the operation is not as simple as it looks.

    Why you didn’t figure out the direction by yourself?

    You had to search on the internet about the direction in which you have to loosen the wheel nuts because, probably, you already tried to move it to the left and to the right, but it didn’t move at all. Your wheel studs are stuck…

    It may seem strange, but often seemingly trivial things give us a hard time.

    Wheel nuts or lug nuts tend to have the bad habit of getting stuck for various reasons. Sometimes they get stuck by themselves, but most of the time we are the ones who force them.

    Why did the wheel nuts get stuck?

    The whole wheel stud – lug nuts ensemble tends to get stuck when the person who fastened it did not use the torque wrench. Either they fastened it with the power of their own hand, which was too much, or, even worse, by using the pneumatic gun. Basically, it got stuck because it wasn’t fastened with a wheel wrench at a proper tightening torque.

    For instance, a stud designed for a tightening torque of 100Nm (73 ft-lbs) will get stuck when tightened at 150Nm (110 ft-lbs). I’m not even going into the problem of lug nut deformation. I’m just discussing the issue of the loosening direction.

    So, finally, which is the direction to REMOVE lug nuts?

    The direction to loosen wheel nuts is counterclockwise.

    This means you twist it towards your left. It is the opposite of the clock direction.

    Or, just take your wheel wrench, place it on the lug nut and move your hand in the upper direction, as if you would lift it.

    Pro-TIP:

    Use a socket wrench and never lift the wheel wrench with your back during the tightening or loosening maneuvers. You must press the wheel wrench with your arm or with the weight of your torso, but never with the back because you might get hurt.

  • REVIEW: John Frieda Frizz Ease Serum

    REVIEW: John Frieda Frizz Ease Serum

    I bought the John Frieda Frizz Ease Serum hoping that it will make my hair easier to comb, that it will prevent split ends and that – obviously – it will ease the frizz.

    I used it for about 6 months (a little bit really goes a long way) so I feel that I can properly review it now.

    What I liked about it:

    • You really need just one-two pumps. Although there is not much product in the bottle, the product will last a lot, so it is not expensive to use. I used to like very much another hair serum, but I was shocked to see how quickly the bottle emptied (I am talking about Loreal Serie Expert Lipidium Serum)
    • Helps detangle the hair
    • Maybe, just maybe, there is a tiny little bit less frizz
    • I didn’t feel that it actually helps prevent split ends, but it didn’t promote them either.

    What I didn’t like about the John Frieda Frizz Ease Serum

    • I didn’t feel a significant change in my hair appearance or hair health after using this hair serum.
    • The package has way too much plastic.

    Will I buy it again?

    No, I will search for a better serum.

  • My Glam Rock Christmas Nails

    My Glam Rock Christmas Nails

    Christmas means glitter in nail’s language.

    One year I went classic with my red with glitter nails, but this time I wanted something more interesting, so I opted for this glam rock look.

    Here is the final result with all the products that I’ve used.

    Steps to achieve the Christmas glam rock nails

    1. Apply the OPI infinite shine base coat. (I did a whole review on the infinite shine products here). Wait till dry.
    2. Apply 2 coats of a dark color. I used the Rita Ora dark blue color, but you can use black or whatever you have. Wait till dry.
    3. Apply 1 coat of a gray glitter. The Sephora glitter is my favorite. Wait till dry… and we’re almost done.
    4. Apply 1 coat of your favorite top coat. I used the OPI plumping top coat.

    How much time did it take to make my nails like this?

    It took about 50 minutes and I used a blow drier to dry my nails faster. But I did my nails while talking with my friend, so time passed quickly.

    How much did they last?

    These Christmas glam rock nails lasted almost 2 weeks. They lasted almost as much as a gel manicure.

  • How to make the healthiest mulled red wine

    How to make the healthiest mulled red wine

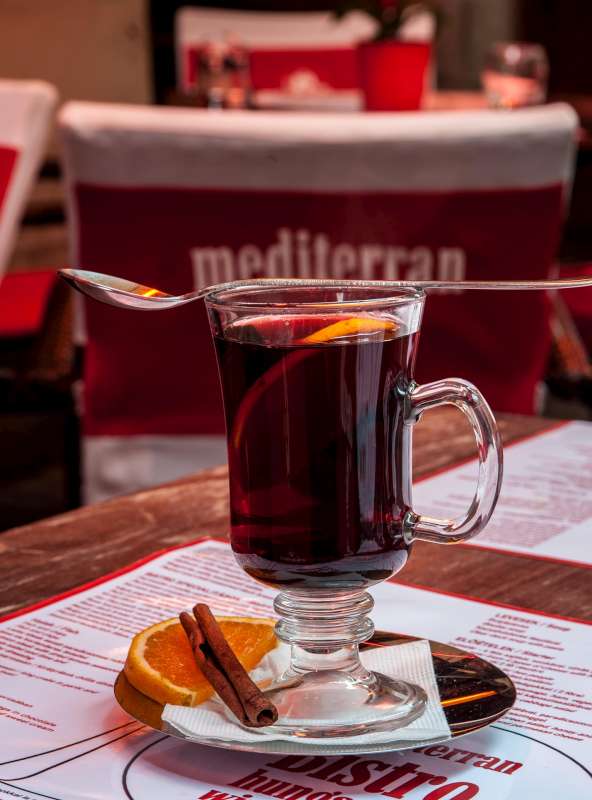
    Traditional mulled red wine

    Red wine is known for its healthy properties, especially for gut, heart and blood pressure health.

    The classic recipe is that you almost boil the wine, mix it with cinnamon and oranges and apples and whatever other tasty stuff. The internet is full of mulled (boiled) red wine recipes, each tastier than the others. But which one of them is the healthiest? Well, none of them.

    The best way to preserve ALL the healthy properties of the red wine is NOT to make it hotter than 60°C (140°F). This is the main problem with the mulled red wine. People heat it really strong, some even boil it – thus destroying the healthy properties of the red wine.

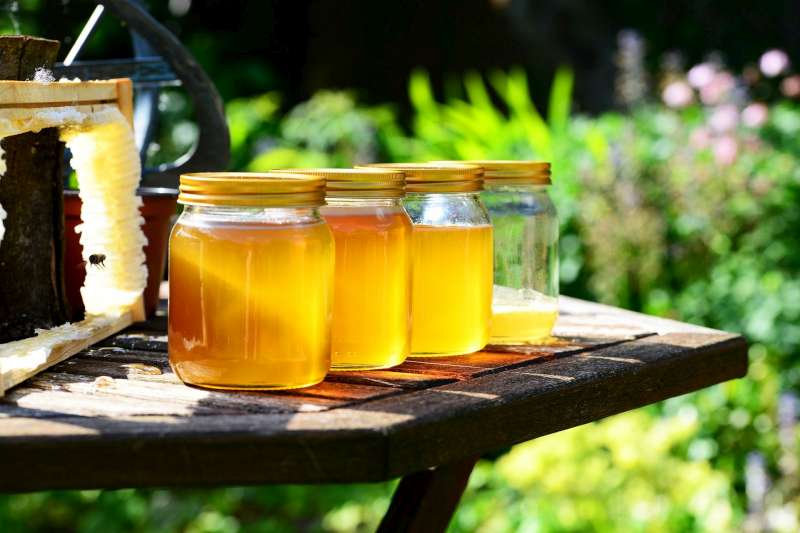
    Also, sugar is very bad for healthy, so we will replace sugar with honey, but always keep in mind that high temperatures destroy the honey.

    The recipe for the healthiest mulled red wine

    For 1 cup of final product you will have to go through the following steps:

    Step 1

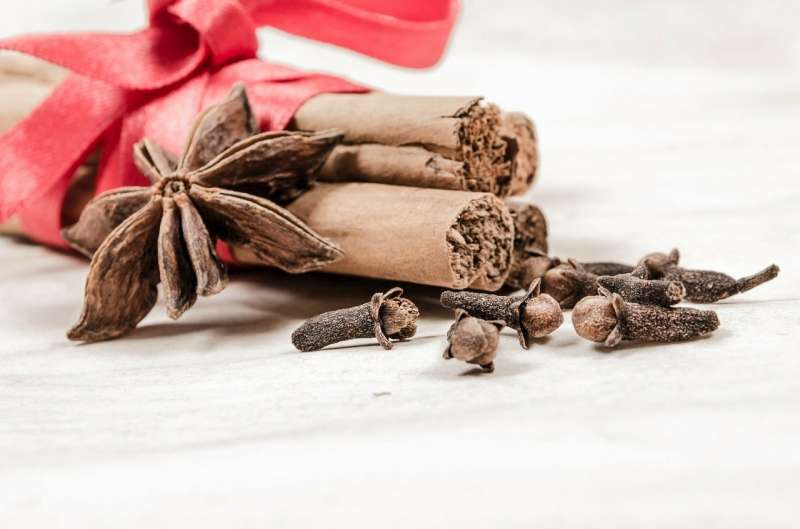
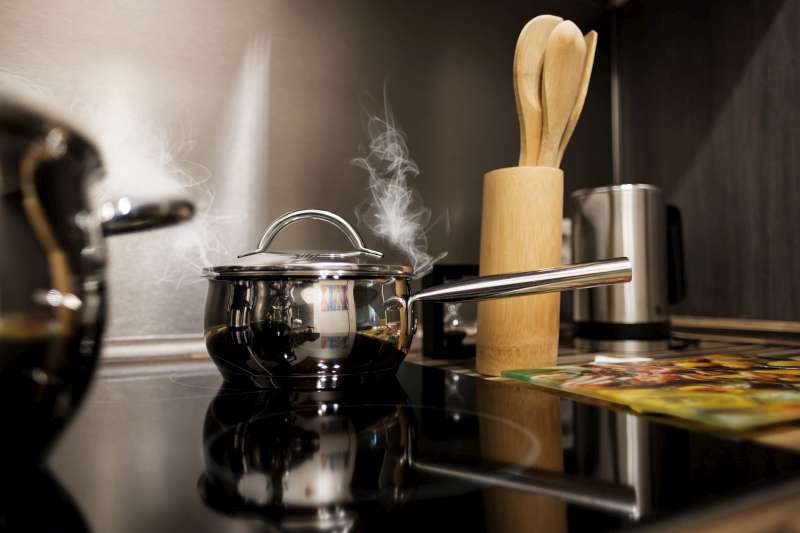
    Measure 1/2 cup of water, add in this water a few cloves (3 or 4) and half teaspoon of cinnamon (I actually prefer the powder because you get to eat it, which is healthier than just to taste a little bit from a stick) and BOIL this mixture.

    Pay attention to the recipient in which you boil the mixture. The second it stars to boil, it swells up and you have to switch off the flame, otherwise you will make a mess.

    Step 2

    Add in this mixture 1/2 cup of room temperature red wine, then mix it a little bit. The whole mixture will now have a temperature around 50°C (122°F).

    Step 3

    Add a teaspoon of honey.

    Since our final mixture has only 50°C (122°F) temperature, it is safe now to mix it with honey.

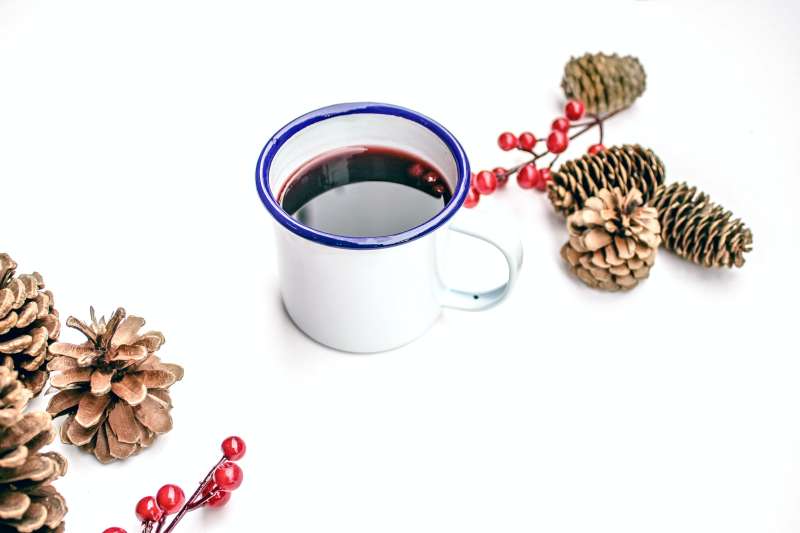
    Now you can drink it. It tastes really good and is good for your health.

    Why is this better than the classic mulled red wine?

    • Since we haven’t boiled the wine, it now has its all properties intact.
    • We replaced sugar with honey and we also didn’t destroy it with heat.
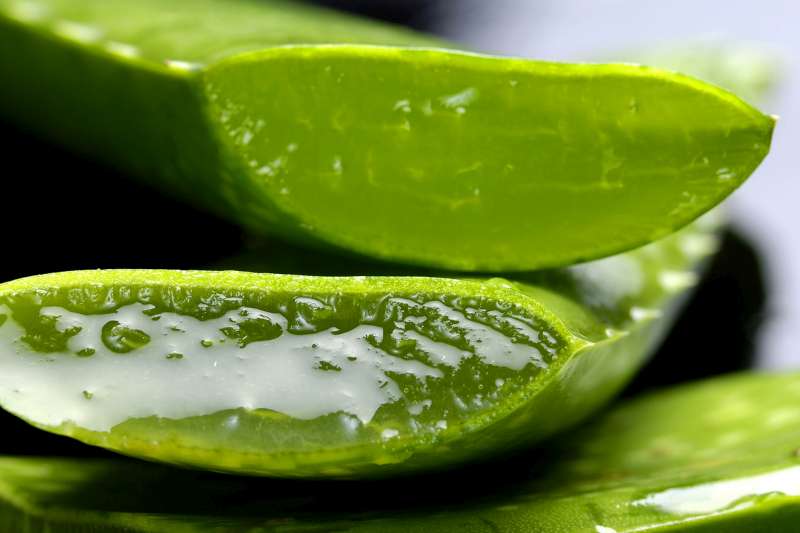
    • The infused cloves with cinnamon are extremely healthy, they are particularly good to boost your immune system.

    Is it safe to drink it daily?

    Yes, it is. Especially since it is not an extremely alcoholic beverage.

    You can also add at the final step other ingredients, such as oranges or anise or whatever you like.

    Winter tastes much better with mulled red wine, even better when it is extremely healthy.


  • Lemmy’s new girlfriend

    Lemmy’s new girlfriend

    Do you remember Lemmy, my favorite plush animal from Yoohoo?

    Today I found his girlfriend. Her name is Pammee and she is super mega cute:

  • Why having a cat is relaxing

    Why having a cat is relaxing

    A cat is really easy to have as a pet and here are the reasons why I think having a cat-friend is relaxing.

    1.The purring sound

    Some people listen to “white noise” before going to bed. I listen to my cat’s purrs. The purrs create an interesting vibe, a deep rythme which I find very relaxing.

    2. The massages

    Receiving massages from a cat is really funny and, of course, relaxing.

    The downside is that sometimes she stings me with her claws, but mostly she is gently and gives a nice massage.

    3. Having always someone to talk to

    This one sounds awkward, but it’s true… My cat is very-very talkative. I am pretty sure that she thinks we speak the same language but

    4. All play, no worries

    The cat gives a positive vibe. She is always optimist and happy and she comes at me and asks me to play with her. It is really funny.

    5. A true friend

    Although people consider that dogs are man’s best friend, cats are also best friends. If you respect it and take care of your cat, it will definitively consider you its friend.

    P.S. Some people find it so relaxing to have a cat that they got a very-very big cat: Puma Messi 🙂

    6. A good help in kitchen

    With a cat, you never get bored when you cook. Either the cat wants to watch you and learn your skills, or it helps you taste the products, or keeps your feet worm just in case. Anyhow, it is fun!

    For instance, look at this Japanese guy cooking with his cats (JunsKitchen):

  • REVIEW:  Erboristica PURIFYING SHAMPOO WITH BIRCH AND PEPPERMINT

    REVIEW: Erboristica PURIFYING SHAMPOO WITH BIRCH AND PEPPERMINT

    Erboristica is an italian company that makes good products.

    I used the Erboristica PURIFYING SHAMPOO WITH BIRCH AND PEPPERMINT several months. It is a good shampoo, it is affordable, a little goes a long way and it is suitable for a lot of people. I do recommend it if you are looking for a good shampoo and don’t want to spend too much money.

    What I liked about it

    • Smells great
    • Makes hair shiny
    • Good for the scalp
    • Good price
    • A little goes a long way

    This is a normal shampoo, you can’t expect it to do wonders. If you have hair problems or scalp problems, this won’t be suitable for you.

    As I stated before, if you want to have a affordable shampoo (€6.20), but much better than common drugstore shampoos, this one is great.

    I also used the version with shea butter for dry hair. It was moisturizing and I also liked it.

  • REVIEW: Nixon Scalp Treatment

    REVIEW: Nixon Scalp Treatment

    I bought the NIOXIN 3 PART SYSTEM NO.1 for normal hair that has a thinning tendency. Unfortunately I only have this photo featuring the treatment bottle. Anyhow, I used for at least a month the whole treatment in 3 steps: shampoo, conditioner and treatment.


    Did it work?

    If you ask if my hair got thicker, well, I didn’t notice.

    Using the Nixon system was interesting. Nothing happened.

    It was such an average shampoo and such an average conditioner and the treatment had the effect of 3 water drops on top of my had after shower.

    I wouldn’t say it is a waste of money because it didn’t do anything bad to my hair, but I don’t think it really stops hair thinning. Maybe it does, after using it one year. I don’t know… but at the same price you could get other products that make hair look good sooner.

  • Aloe Vera – A good plant to have at your house

    Aloe Vera – A good plant to have at your house

    Easy to take care of

    I love having an Aloe Vera plant at home. It is very easy to take care of, doesn’t require a lot of care. Just put it in an ordinary place with some sun and water it once a week. It is not a demanding plant, but it has tons of benefits.

    For cooking-related burned skin

    If you cook regularly, you might have burned your skin with steam. I know I did… I just cut an aloe vera leaf and with the gel inside it I massage the burned area of my skin. The burned are will heal very-very quick and the pain will diminish considerably.

    For sun damaged skin

    Did you stay in sunlight too much? Is your skin red, did it get burned and know you feel that awkward pain?

    Once again, apply the gel that’s inside the Aloe Vera leaf and the skin will heal itself more quickly.

    For a healthy liver

    The Aloe Vera plant has also a detoxifying effect, especially for the liver.

    You have to blend 1.6 meters (63 inches) of Aloe Vera leaves (not only the gel, but the whole leaf) and then mix this blend with 400 g (14 ounces) of honey. Eat of spoon of this mixture each morning and will help you detoxify.

    Does it suffer when you pick off her leaves?

    I hope not.

    The Aloe Vera is a prolific plant, it will have plenty of leaves so probably it won’t be such a problem if you take a leaf once in a while.