My favorite “How to cut your own long, straight hair” Youtube Video
Since these days everyone is cutting their own hair at home, I thought it might be a good ideea for me to try it too. Also, I had a lot of split ends lately and I needed to get rid of them.
I started by doing some research. I watched a lot of Youtube Videos about hair cutting. There are many girls who give advice on how to cut your own hair, but I needed to find a video that was suitable for my straight, long hair. I also wanted a more complex cut, to make sure more split ends get cut, not only the ones from the bottom.
After all the videos that I’ve watched, I definitely have a favorite one. It is created by MsRosieBea. She is from England and studied fashion design. I like her style.
This is the simple haircutting tutorial. I also have a favorite advanced Layered Haircut Tutorial.
So, here are the steps she follows, which I also followed and I can guarantee you that they work!
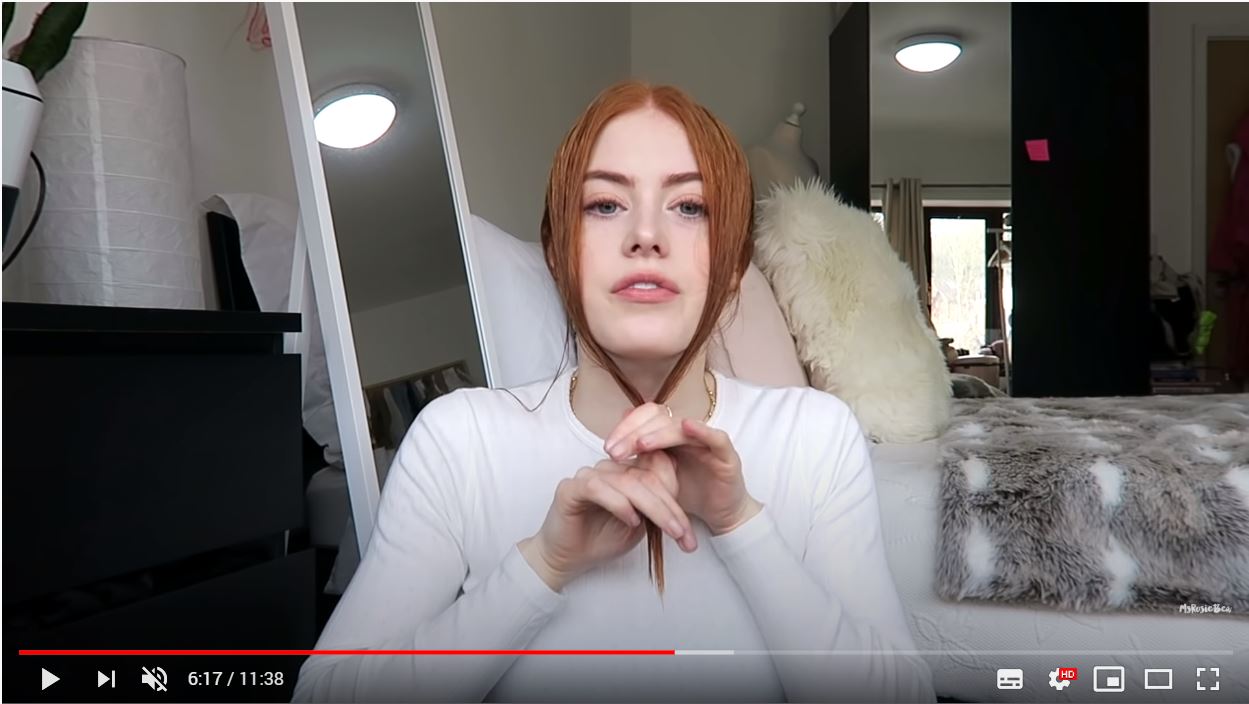
Step 1. Cut the “Babushka” in a straight line
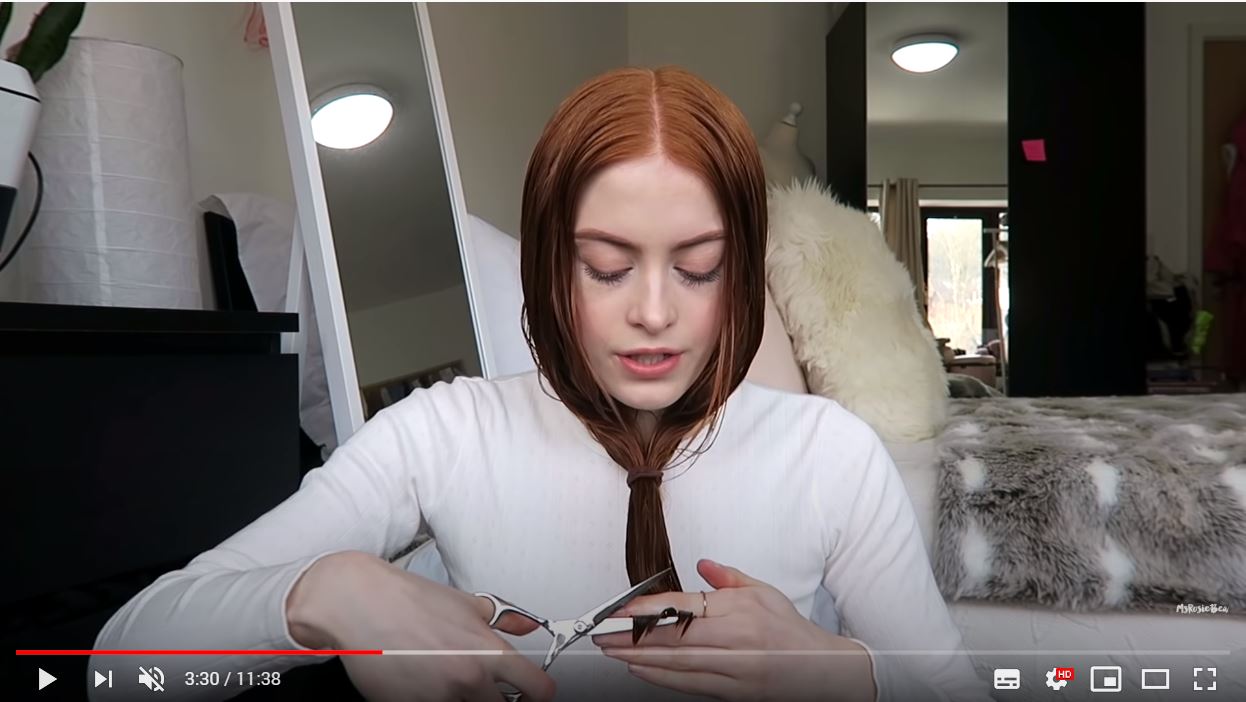
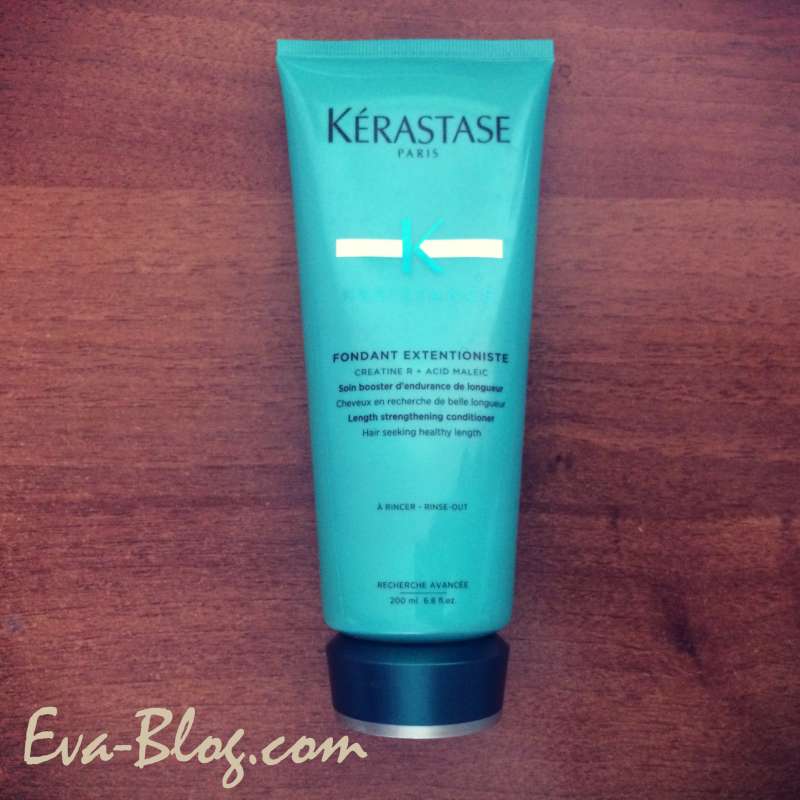
First of all you have to have your hair washed and wet. I also used a very good hair balm that made my hair silky and very easy to comb, so I wouldn’t have any hair breakage.
Then you need to part your hair in 2 and bring the 2 halfs together under your chin. Tie them thight with a hair band.
Then cut in a straight line.
This will create slightly rounded corners on your hair, when you will wear it on your back.
Step 2. Cut the sides in a vertical, straight line
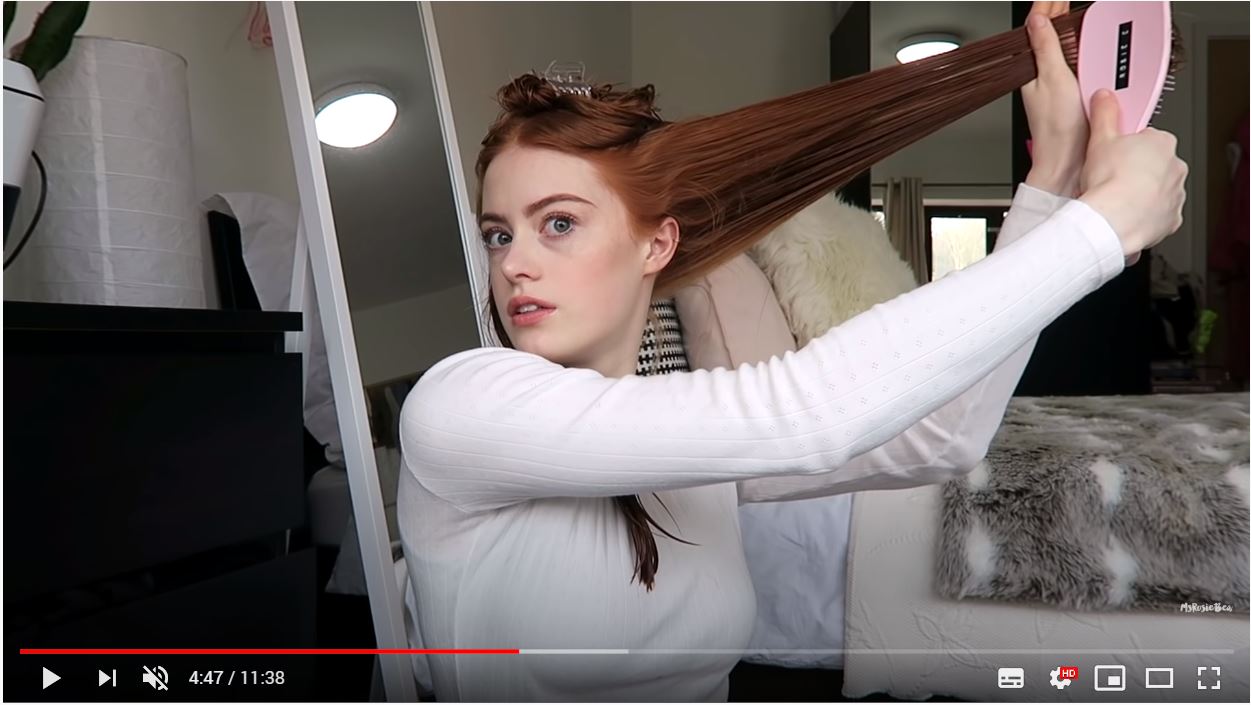
Tie some hair from the top of your head.
Part the rest of the hair in 2. Take one part, comb it and lift it diagonally, then cut it in a straight, vertical line.
This will create a slightly progressive cut that I find aesthetically pleasing and it also helps with my split ends, since more hairs that are shorter get also cut.
Step 3. Tie this hair at the back of your head
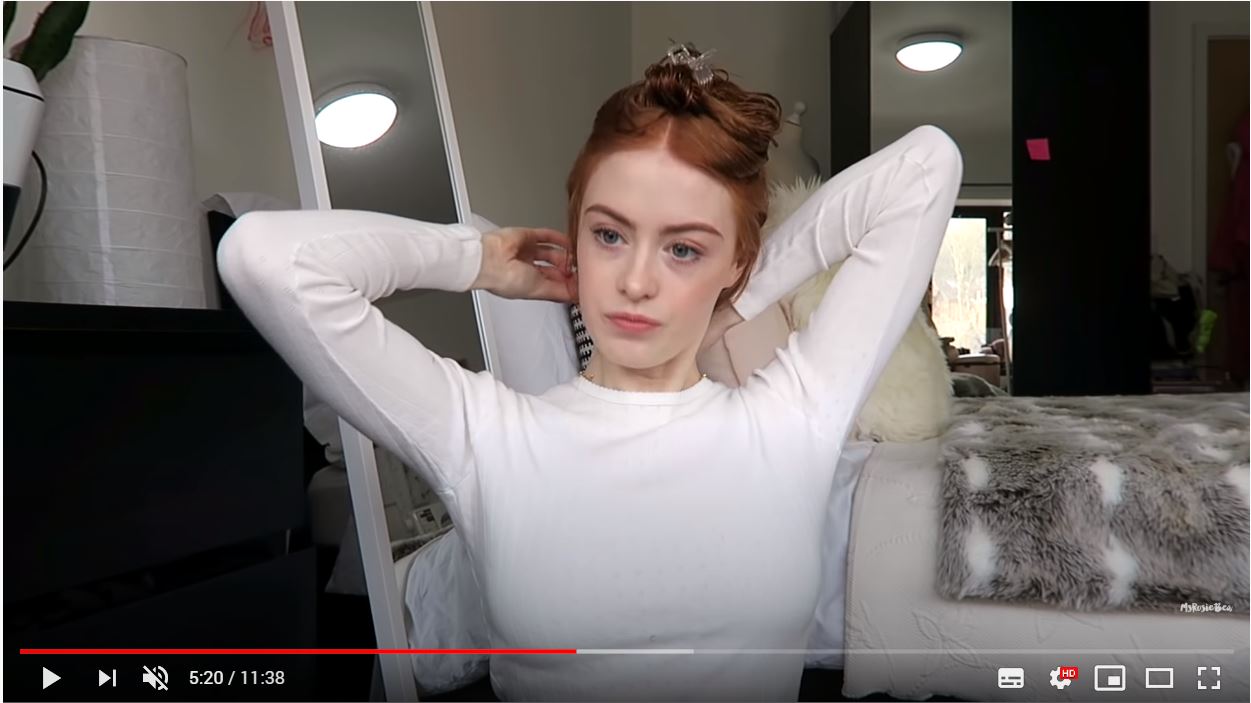
So we’re done with half of our hair. Now it must be tied on the back and then we will work with the top hair.
Step 4. Cut the “little Babushka”
Release the top hair and create a “little Babuschka” under your chin. Then cut it straight.
Now, in this video she says at the beginning that she has already trimmed her front shorter hair, so she won’t be doing it again in this video. I found the technique in another of her videos:
Step 5. Trim the front hair

Separate a tiny area on your front. That will be the hair that will look shorter and will frame your face.
Comb all of it in front of your face and cut it in a straight line.
So, there it is, MsRosieBea’s final result:

I think she is very beautiful and her hair looks stunning.
TIP: There is a little technique that helps your hair cut to look more natural. After each cut, you have to trim it just from place to place, just 1-2 mm, with the scissors placed parallel with the hair.
Hope this helps, it surely helped me.
Here you can watch the whole video. Also, you can check MsRosieBea’s other social media pages:
I also tried another technique, which is a little bit more complicated. The girl in this video is Kristy Maccone:
You May Also Like
Bronze Age Blazer & Other Clothing Items
How to get cute white nails with white polish